After Accepting the license and hit "Next"while installing Windows Vista choose a Custom installation.
On the screen where you’re asked where you want to install Windows, you should see a single large partition marked Primary

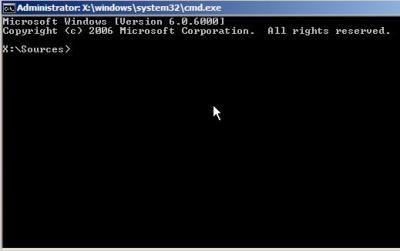
Press SHIFT+F10. This is a Windows PE 2.0 shortcut to open up a command window.
Type in DISKPART and press Enter. This opens the Microsoft DiskPart application. You need to select the active disk, so type in:`
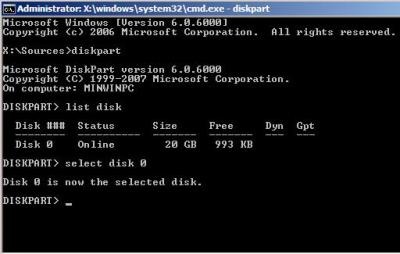
Now we need a list of volumes on this disk, so type in:
In this case Volume 0 is the one we want, so type "select volume 0"
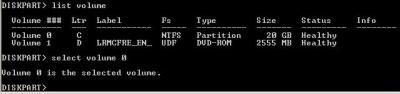
Now Type "shrink" as shown bellow
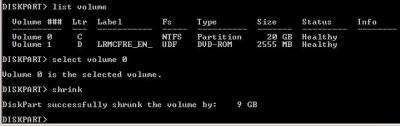
DiskPart will go off and reclaim as much of the drive as it can – you should get at least 50% of the space back. Bow type "EXIT" and "EXIT" again.
to quit the command window and get back to the install screen. Click Refresh and the partition window will update – you should now see the original Primary partition plus a brand new partition as shown bellow.


 Visitor
0 comments:
Post a Comment